Mon–Fri 9:30–5:30 · Sat 9:30–1:00| Unit 1/4 Marieanne Place, Minchinbury

Authorised service centre|(02) 9675 5511

Category: Repair guides

  • Yamaha receiver keeps going into protection mode

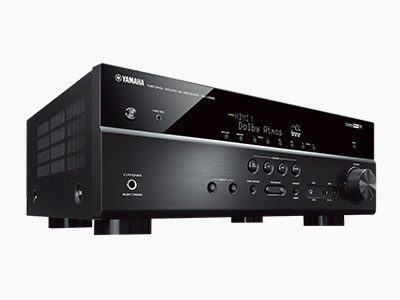
    Yamaha receiver keeps going into protection mode

    Your Yamaha receiver turns on, then clicks off a few seconds later, or shuts down when you turn the volume up. Some models show “CHECK SP WIRES” or blink the power light. This is protection mode: the receiver has detected something wrong and switched off to protect itself.

    Check these first

    1. Speaker wires. Turn the receiver off and check every speaker terminal, on the receiver and the speakers. A single stray strand touching the chassis or the other terminal is enough to trigger protection.
    2. Disconnect all speakers and turn the receiver on. If it stays on, reconnect the speakers one at a time to find the problem.
    3. Ventilation. Receivers in closed cabinets can overheat. Give it space above and behind.
    4. Impedance. Low-impedance speakers driven hard can trip protection. Check the speaker impedance setting in the receiver menu.

    If it still goes into protection

    If the receiver shuts off with no speakers connected, the fault is inside. Common causes are failed output transistors, a power supply fault, a failed DC protection circuit or, on some models, a faulty HDMI or DSP board dragging the power supply down.

    Don’t keep switching it on and off. Repeated attempts can turn a small fault into a bigger one.

    Is it worth repairing?

    For mid-range and AVENTAGE Yamaha receivers, usually yes. The repair is often a fraction of the cost of a comparable new receiver.

    We’re a listed Yamaha service centre in Minchinbury, Western Sydney, for AV receivers and hi-fi, in and out of warranty. See Yamaha service or amplifier and receiver repair.
  • Epson projector lamp or temperature light flashing: what it means

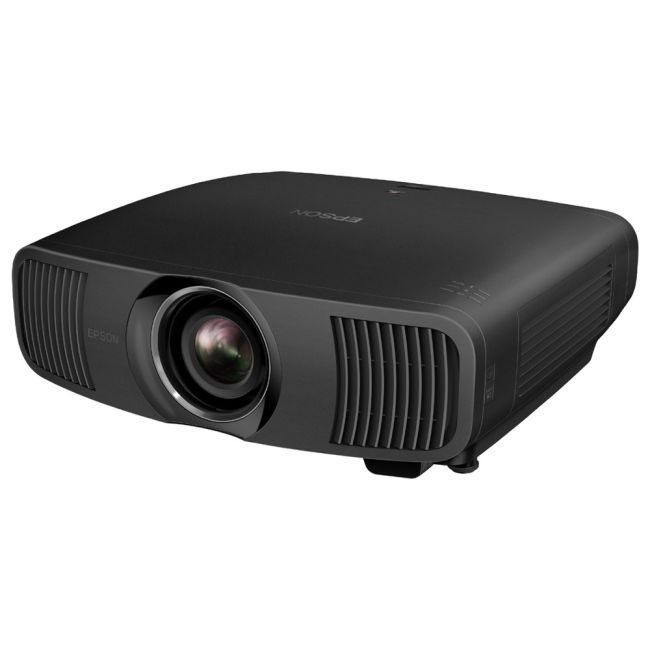
    Epson projector lamp or temperature light flashing: what it means

    Epson projectors use their indicator lights to tell you what’s wrong. A flashing or solid orange or red light usually means the projector has shut down to protect itself. Here’s how to read the lights and what to try.

    Light patterns vary between models, so check the manual for your exact model (search the model number on Epson’s support site). The patterns below are the common ones.

    Temperature light

    • Flashing: the projector is running hot. Check the air filter and vents are clear, and that it isn’t in an enclosed cabinet or near a heat source.
    • Solid, projector shuts down: it overheated, or a fan or temperature sensor has failed.

    Try this: turn it off, unplug it, clean or replace the air filter, give it space to breathe and let it cool for 30 minutes. If the light comes back, a fan has probably failed.

    Lamp light

    • Flashing: the lamp is near or past the end of its life, or the lamp cover isn’t closed properly.
    • Solid, no picture: the lamp has failed, or the lamp circuit (ballast) has a fault.

    Try this: check the lamp hours in the menu and make sure the lamp cover is firmly closed. If the lamp is new and the light still comes on, the fault is probably the ballast or a sensor, not the lamp.

    Power light flashing with lamp and temperature lights

    When several lights flash together, it usually points to an internal fault such as the power supply or mainboard. That needs a technician.

    When to bring it in

    • The warning comes back after cleaning the filter and cooling down.
    • A new lamp doesn’t fix a lamp warning.
    • The picture is yellow, purple or blotchy (LCD panel or dust in the optics).
    • Several lights flash together.

    We repair Epson home cinema and business projectors at our Minchinbury workshop. See Epson projector repair or call (02) 9675 5511.

  • Samsung TV has sound but no picture? Here’s why

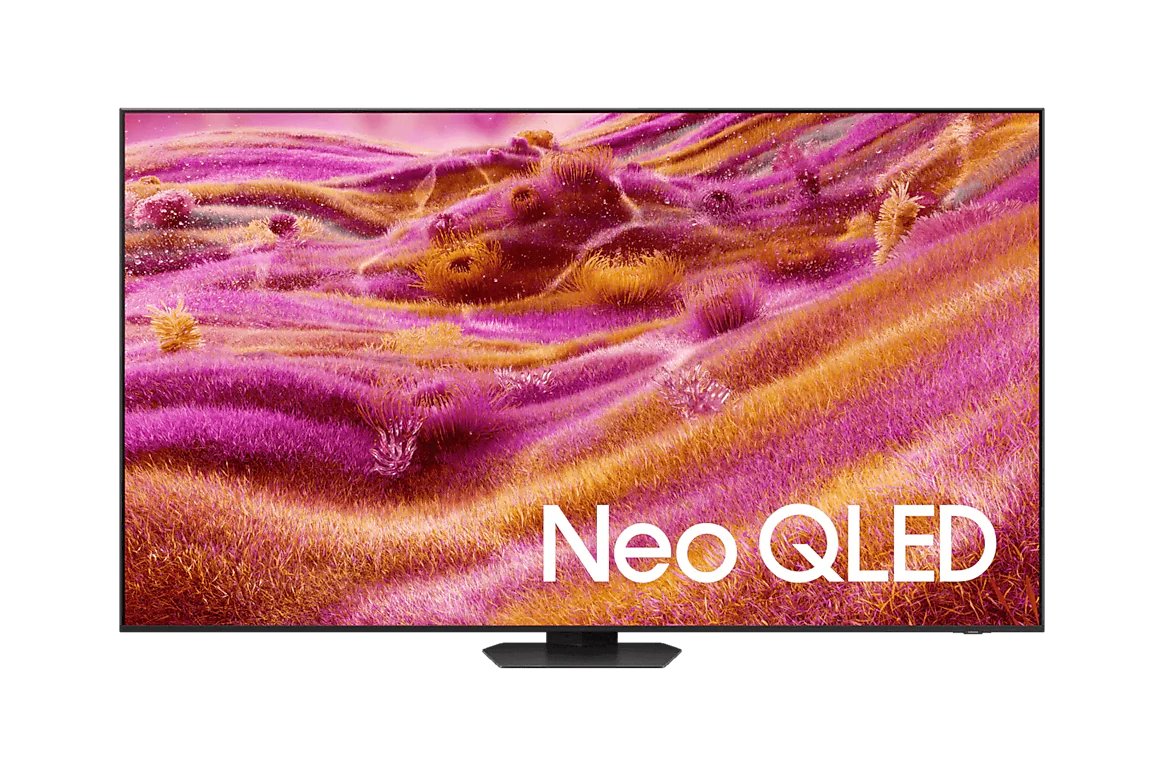
    Samsung TV has sound but no picture? Here’s why

    You turn the TV on, the sound comes through, but the screen stays black. On Samsung LED and QLED TVs, this is one of the most common faults we see, and it’s usually repairable.

    The two-minute torch test

    1. Turn the TV on and bring up a menu or a bright scene.
    2. Shine a torch at the screen from close up, at an angle.
    3. If you can faintly see the picture or the menu, the TV is working but the backlight has failed.

    If you can’t see anything even with the torch, the fault is more likely the power supply, the mainboard or the T-con board.

    Why Samsung backlights fail

    LED TVs light the picture with strips of LEDs behind the panel. They run hot, and over time individual LEDs fail. On most Samsung models the LEDs are wired in series, so when one fails, the whole strip — and often the whole backlight — goes dark. The TV’s protection circuit may also shut the backlight off.

    What the repair involves

    The panel has to come out of the TV to reach the strips. We replace the full set of backlight strips with new ones rather than just the one that failed, because the others are the same age and likely to follow. Then we test the TV for several hours.

    A backlight repair is usually a fraction of the cost of a new TV of the same size. We diagnose it first and give you a fixed quote.

    Other causes

    • Power supply board: the backlight power section fails even though the rest of the board works.
    • One Connect box (The Frame and some QLEDs): a faulty box or cable can leave the panel dark.
    • Mainboard or T-con faults: usually no picture with the torch test either.

    Bring it to our Minchinbury workshop or ask about in-home service for large TVs. More on Samsung TV repair.

  • Subwoofer not working? How to find the fault

    Subwoofer not working? How to find the fault

    When a powered subwoofer goes quiet, the fault can be in the settings, the cable, the subwoofer’s built-in amplifier or the driver itself. Working through these in order will usually tell you where the problem is.

    Check the basics

    • Power light. Is the subwoofer’s power or standby light on? If not, check the power cable, the switch on the back and the fuse, if it has an external one.
    • Auto-standby. Many subs switch off after a few minutes without signal and wake when they detect bass. If the signal is low, they may not wake. Try setting power to “on” instead of “auto”.
    • Receiver settings. Check the subwoofer is set to “yes” or “LFE + main” in your AV receiver’s speaker setup, and that the sub level isn’t turned right down.
    • Cable. Try a different RCA cable and a different sub output on the receiver if it has two.

    Test the subwoofer on its own

    Connect a phone or other source directly to the subwoofer’s input using a suitable cable and play some bass-heavy music at low volume. If it works, the problem is in your receiver or its settings. If it doesn’t, the fault is in the subwoofer.

    Common subwoofer faults

    Plate amplifier failure

    Most powered subs have their amplifier and power supply on a plate at the back. Heat, power surges and age take their toll, and plate amp failure is the most common cause of a dead sub. It’s usually repairable at component level.

    Hum with nothing playing

    A constant hum from the sub is often a ground loop between the sub and the receiver, or ageing power supply capacitors in the plate amp. See our guide to amplifier hum and buzz.

    Rattling or distorted bass

    Gently push the driver cone in (with the sub switched off). If it scrapes or feels rough, the voice coil may be damaged. A torn surround or loose panel can also rattle.

    Getting it repaired

    We repair powered subwoofers, active speakers and soundbars, including SVS, KEF, Bose, Klipsch, Velodyne, Yamaha and JBL. See speaker and subwoofer repairs.

  • TV or electronics damaged by a power surge: what to do next

    TV or electronics damaged by a power surge: what to do next

    Storms, lightning strikes near power lines and faults on the grid can all send a surge through your home’s wiring. TVs, amplifiers, set-top boxes and anything connected by an antenna or network cable are especially vulnerable. Here’s what to do if something has stopped working.

    1. Make it safe

    Switch damaged equipment off at the wall and unplug it. If you can smell burning, see scorch marks or the power keeps tripping, leave it unplugged and don’t try it again.

    2. Record what happened

    • The date and approximate time of the storm or outage.
    • Every item that stopped working, including smaller things like modems and set-top boxes.
    • Photos of the items and their model and serial number labels.
    • Anything you noticed: a bang, a flash, a burning smell or tripped safety switches.

    3. Talk to your insurer

    Many home contents policies cover electrical damage from power surges and storms, sometimes as an optional extra called motor burnout or electrical damage cover. Your insurer will usually ask for a written damage report from a qualified technician stating what failed, what caused it and whether it can be repaired.

    4. Get a damage report

    We inspect the equipment on the bench, identify the damaged parts and write a report that states the cause of failure and whether a repair is economical. If it’s repairable, we include a repair quote; if not, the report says so, which supports a replacement claim. We confirm the report fee when you book. See insurance damage reports.

    Can a surge-damaged TV be repaired?

    Often, yes. Surges commonly take out the power supply board or the input circuits (HDMI, antenna or network), which are repairable. Damage that reaches the panel or several boards at once may make replacement the better option, and the report will tell you which applies.

    Protecting your gear next time

    A quality surge protector power board for your TV and audio equipment helps, but remember that surges can also come in through the antenna and network cables. Protectors that cover those connections give better protection.

  • Amplifier or receiver humming or buzzing: causes and fixes

    Amplifier or receiver humming or buzzing: causes and fixes

    A low hum or buzz from your speakers can come from the amplifier itself or from the way your system is connected. The good news is that the most common cause costs nothing to fix.

    Step 1: find out where the hum comes from

    1. Turn the volume right down. If the hum stays at the same level whatever the volume, it’s likely coming from the amplifier’s power stage or a connected device.
    2. Unplug every input cable from the amplifier, leaving only the speakers connected. If the hum stops, the problem is in a connected device or cable.
    3. Reconnect devices one at a time to find the culprit.

    Ground loops: the usual culprit

    When two devices are earthed through different paths, such as an amplifier and a TV connected through a cable or antenna, a small current flows along the audio cable and you hear it as hum. Try plugging all the audio equipment into the same power board, and disconnect the TV antenna or cable box briefly to test. Never remove the earth pin from a plug to cure hum; it’s dangerous.

    When it’s the amplifier

    Ageing capacitors

    The large filter capacitors in an amplifier’s power supply smooth out the mains. As they age, they lose capacity and a steady hum appears, getting worse over time. This is very common in amplifiers more than 15 years old and in vintage gear.

    Transformer hum

    A mechanical buzz from inside the case, which you hear even with the speakers disconnected, comes from the power transformer. It can be caused by loose mountings or by DC on the mains supply.

    Noisy volume or tone controls

    Crackling or scratching when you turn a knob is dirty or worn controls, not hum, but it’s often the next thing to go. Cleaning or replacing them fixes it.

    Safety first

    Amplifier power supplies hold dangerous voltages even when unplugged. If the hum is coming from inside the amplifier, don’t open it up.

    Getting it repaired

    We repair stereo amplifiers, AV receivers and powered speakers from Yamaha, Denon, Marantz, Onkyo, Pioneer, Rotel, NAD and many more. See amplifier repairs or vintage hi-fi restoration.

  • Projector picture dim, blurry or discoloured? Common causes

    Projector picture dim, blurry or discoloured? Common causes

    A projector that used to look great can slowly lose its punch. The picture gets dimmer, softer or takes on a colour cast, and it’s easy to blame the screen or the source. Here are the usual causes, from simplest to most involved.

    A dim picture

    • Lamp age. Lamp projectors lose brightness steadily. Check the lamp hours in the menu against the rated life in the manual.
    • Eco mode. Many projectors switch to a low-power lamp mode automatically. Check the lamp or light source setting.
    • Dust filters. A blocked filter makes the projector run hot and dim the lamp to protect itself. Clean or replace it.
    • Laser and LED models lose brightness much more slowly. A sudden drop usually points to a fault in the light source or its driver.

    A blurry picture

    Start with focus and zoom, then check the lens for dust or fingerprints and clean it gently with a lens cloth. If one part of the image is sharp and another isn’t, the projector may not be square to the screen, or keystone correction may be softening the picture. Reduce keystone and move the projector if you can.

    If the picture is still soft everywhere, dust or heat damage inside the optical block can be the cause.

    Yellow, green or blotchy colours

    A colour cast or blotches that stay in the same place are a classic sign of dust inside the optical block or a degraded LCD panel or polariser. On LCD projectors, a yellow or brown haze that gets worse over time is often heat damage. On DLP projectors, rainbow flicker or missing colours can point to the colour wheel.

    These aren’t user-serviceable. Opening the optical block needs a clean workspace and the right tools.

    Warning lights

    If the lamp or temperature light is flashing, see our guide to Epson projector warning lights. The same principles apply to most brands.

    Getting it looked at

    We service home cinema, business and classroom projectors from Epson, Sony, BenQ, Optoma, NEC, ViewSonic and others. We diagnose the fault on the bench and quote before any work starts. See projector repairs.

  • LG OLED TV won’t turn on: common causes

    LG OLED TV won’t turn on: common causes

    LG OLED TVs are some of the best sets you can buy, but when one won’t turn on, it can be hard to tell whether it’s a simple glitch or a hardware fault. Here’s how to work it out.

    Try a power reset first

    1. Switch the TV off at the wall and unplug it.
    2. Wait at least 60 seconds so the power supply fully discharges.
    3. Plug it back in, straight into a wall socket, and turn it on with the button on the TV rather than the remote.

    If it starts normally, check for a webOS update once it’s running. If not, read on.

    What the standby light tells you

    • No light at all. The TV isn’t getting standby power. Check the cable and socket; if those are fine, the power supply board is the likely cause.
    • Red light on, but nothing happens. Standby power is present, but the TV isn’t starting. This can be the mainboard, the power board’s main supply or the IR/button board.
    • Light blinks, or the TV starts and shuts down. The TV has detected a fault and is protecting itself. This often points to the power supply or the panel electronics.

    Common LG OLED faults

    Power supply board

    OLED panels draw a lot of power on bright scenes. Over time, components on the power board age and the TV can fail to start or shut down under load.

    Mainboard and firmware

    A corrupted firmware update or a failing mainboard can leave the TV stuck on the logo or in a boot loop. We can reload firmware or repair the board.

    Panel electronics

    OLED panels have their own driver boards. Faults here can cause no picture, lines or a flashing screen. Some are repairable; a damaged panel usually isn’t worth replacing.

    Don’t forget the warranty

    If your TV is still under LG’s warranty, contact LG first. Out of warranty, we repair LG OLED and LED TVs at our Minchinbury workshop and quote before starting. More on LG TV repair.

  • TV turns on then off by itself: what it means

    TV turns on then off by itself: what it means

    A TV that powers up, shows the logo or a picture for a few seconds and then switches itself off is telling you something. Most of the time the TV is shutting down to protect itself because a fault has been detected. It’s one of the most common faults we see on LED, QLED and OLED TVs, and it’s usually repairable.

    First, rule out the simple things

    • Timers and settings. Check the sleep timer, auto power-off and eco settings in the TV menu. An “off timer” or “no signal power off” can look like a fault.
    • HDMI-CEC. A set-top box, console or soundbar can switch the TV off through HDMI control. Unplug all HDMI devices and see if the fault stops.
    • Power. Plug the TV straight into a wall socket rather than a power board or surge protector, and try a different socket.
    • Firmware. If the TV stays on long enough, check for a software update. Some models have known start-up bugs fixed by an update.

    If the TV still turns itself off, the cause is almost always inside the set.

    The usual hardware causes

    1. Backlight failure

    On LED TVs, the backlight driver monitors the LED strips. If one LED fails, the driver sees the fault and shuts the TV down, often after a few seconds. You may hear sound briefly, or see a flash of picture. This is the most common cause on Samsung, LG, Hisense and TCL LED models.

    2. Power supply faults

    Ageing capacitors on the power supply board can’t hold the voltage steady once the TV draws full power. The TV starts, the load goes up, the voltage drops and the set switches off. A clicking sound as it tries to restart is a common sign.

    3. Mainboard or T-con faults

    A failing mainboard can crash during start-up and restart in a loop. On many brands, the standby light blinks in a pattern that points to the faulty section.

    Should you keep trying to turn it on?

    No. Repeatedly powering a TV with a failing backlight or power supply can damage other parts, turning a single-board repair into a bigger one. Note what it does (how long it stays on, any sounds, the standby light pattern) and switch it off at the wall.

    Getting it repaired

    We diagnose the fault on the bench and quote before any work starts. A minimum diagnostic fee applies and comes off your invoice if you go ahead. See TV repairs or read why Samsung TVs lose the picture but keep the sound.

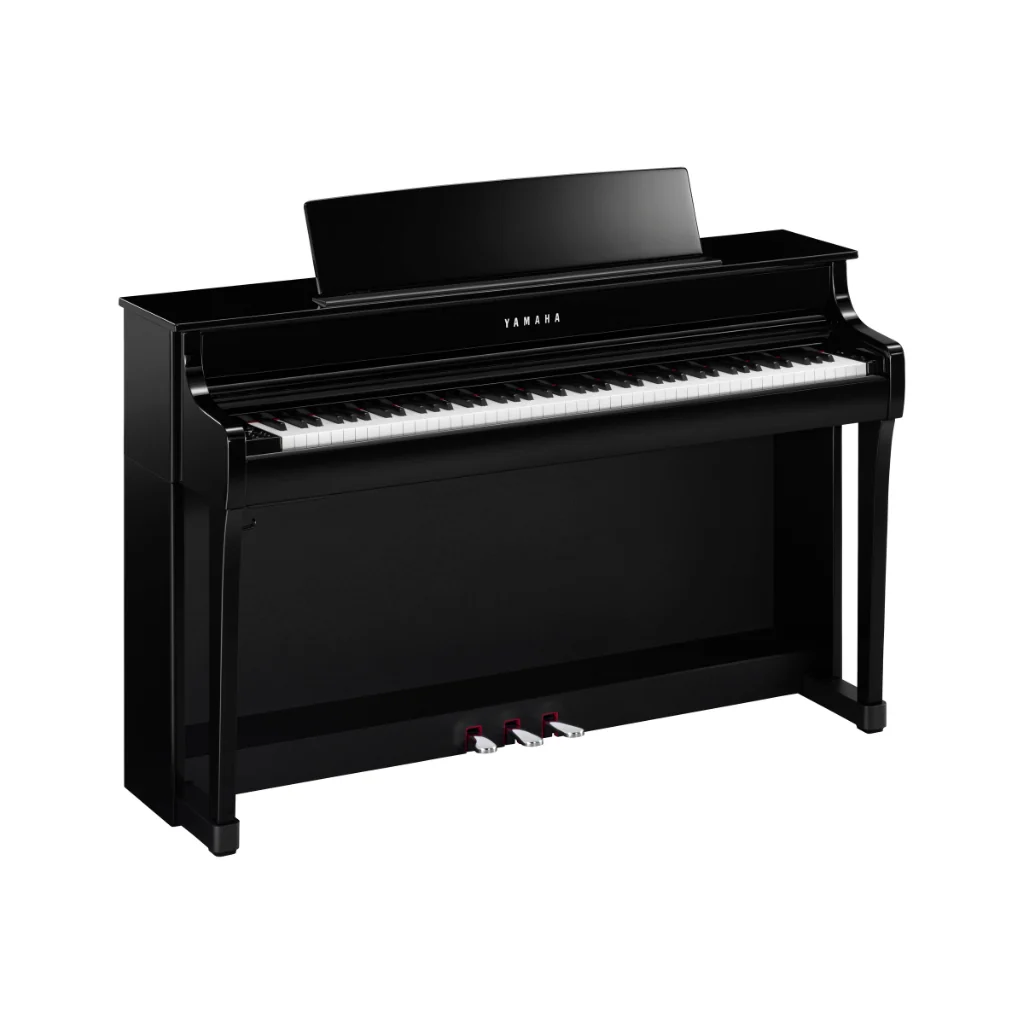
  • Yamaha Clavinova sticky keys: causes and fixes

    Yamaha Clavinova sticky keys: causes and fixes

    A key that’s slow to come back up, feels heavier than its neighbours or jams down completely is one of the most common digital piano faults. On Yamaha Clavinova (CLP and CVP), Arius (YDP) and P-series pianos it’s usually mechanical, which means it can be fixed.

    This guide explains the usual causes, what you can safely check yourself, and when the piano needs to come apart.

    Why Clavinova keys stick

    1. Debris in the keybed

    The gaps between keys collect dust, pet hair, crumbs and the occasional coin or paperclip. Anything that drops down the side of a key rubs against it and slows it down.

    2. A cracked key or broken part in the action

    The plastic key frames and hammer parts in a digital piano action can crack with age and heavy use. A cracked key flexes sideways and rubs on the key next to it. You’ll often notice two neighbouring keys feel wrong together.

    3. Old lubricant and worn felts

    Yamaha actions use grease on the guide points and felt pads to keep keys moving smoothly. Over years of playing, the grease dries out or collects dust, and the felts wear. Keys start to feel sluggish or noisy.

    What you can safely try at home

    Switch the piano off and unplug it first.

    1. Look first. Shine a bright torch straight down the gaps either side of the sticky key and look for anything lodged there.
    2. Use compressed air. A short blast from a can of compressed air, with the straw nozzle in the gap, will shift loose dust and debris.
    3. Dry cloth only. Never spray water, cleaning products or lubricants like WD-40 into the keys. Liquid gets onto the key sensor boards underneath and can cause far worse damage than a sticky key.

    If the key is still sticky after that, stop there.

    When it needs a technician

    Getting to the key action on a Clavinova means removing heavy panels, many hidden screws and delicate ribbon cables to the sensor boards. The keys sit on small springs and guides that are easy to dislodge and hard to put back. A mistake here can leave you with more problems than you started with.

    On the bench, we remove the action, clean and re-lubricate it, and replace any cracked keys or worn parts with genuine Yamaha parts. Gluing a cracked key is only a temporary fix.

    Get your Clavinova repaired

    Target Electronic Services is a listed Yamaha service centre in Minchinbury, Western Sydney, for digital pianos and keyboards. Many Clavinova key faults only need the key action brought in, not the whole piano. Call us on (02) 9675 5511 and we’ll tell you what to bring, or read more about digital piano repair.